I will be updating this a little as I go and since it is under construction, please ignore my saw dust (pun intended).
It is finally finished. I think we ended up with 4 coats of polyurethane but it sure made a difference and was well worth the extra waiting time. Here it is!
 |
| FINALLY FINISHED |
 |
| Another angle |
So here is a picture tutorial of the process:
We used 2 x 8 pine boards for the table top and 2 x 4 boards for the apron.
 |
| Here is the table top (turned upside down) and the apron |
|
|
| Add the legs using 4 x 4's |
 |
| add some cross supports. We used 1 x 2's but it might be better to use 2 x 4's. I guess it depends on how much weight you plan to put on your table. |
 |
| whew, it took some serious muscle to get this baby turned upright |
 |
| added stain after sanding (Minwax English Chestnut) |
 |
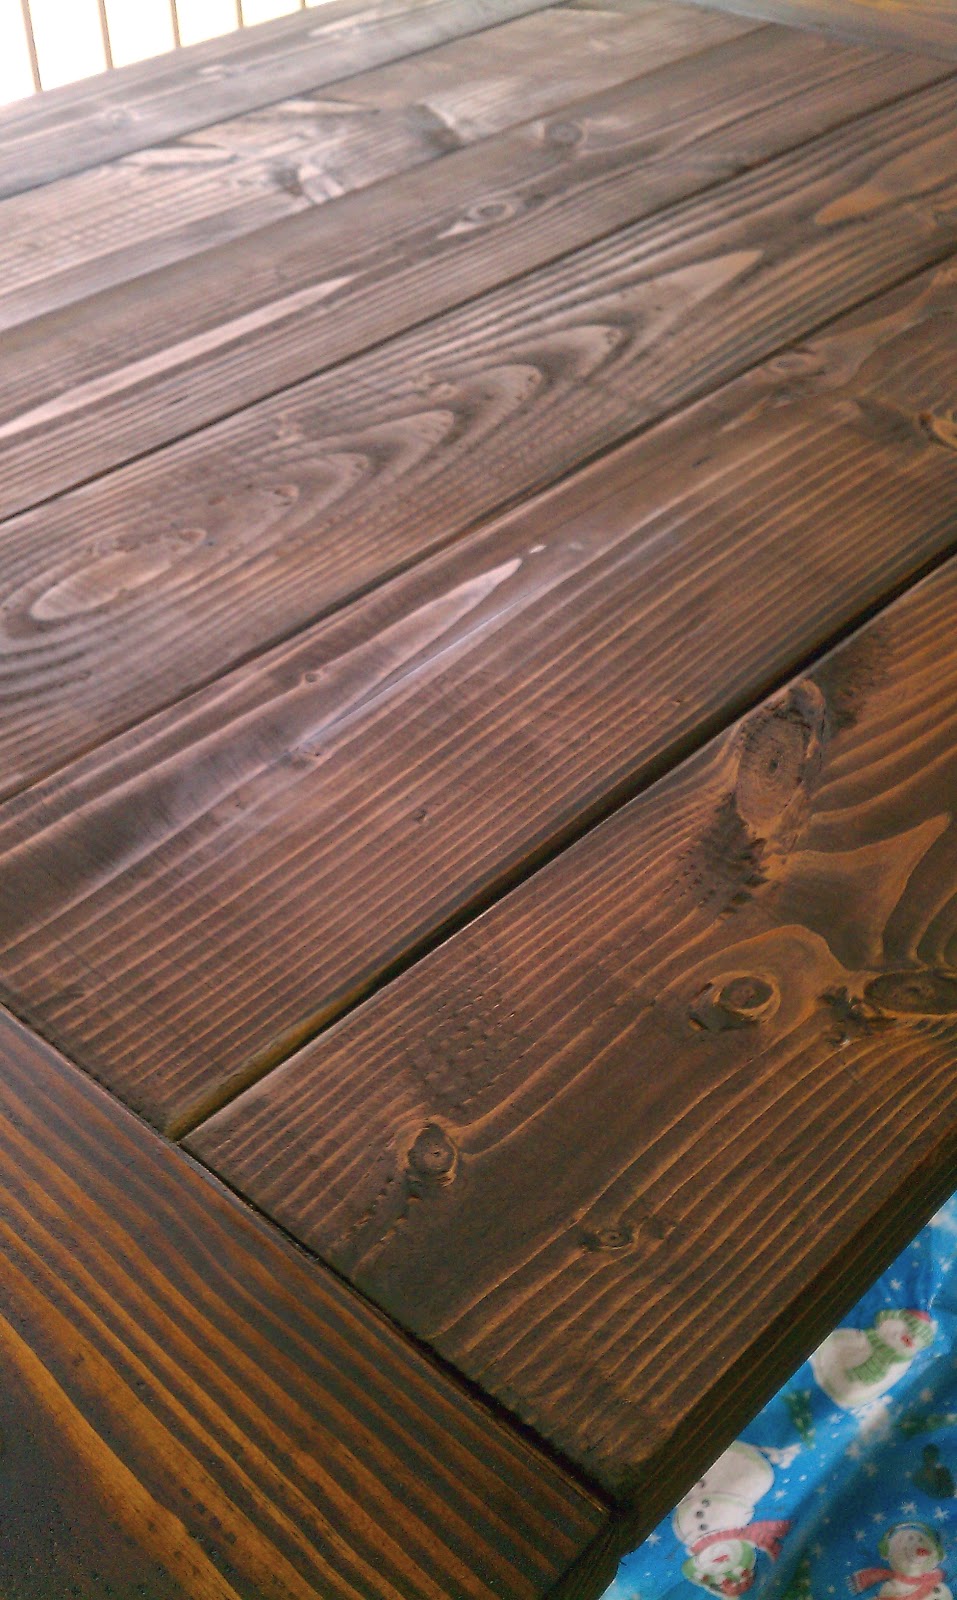
| another view after staining - dont you love the snowman table cloth that we used as a drop cloth... |
 |
| It is in the kitchen on top of a drop cloth and some wood boards. Now it is time to add the polyurethane. I just had to add some decorations to get an idea of how it will look. I will post a final picture once it is finished. |
|
|
Here is the table with the first coat of the polyurethane
|
 |
| Here it is after another coat of poly. We need to let it dry, sand out the bubbles and then hopefully put on just one last coat. |
 |
| Waiting for the polyurethane to dry...... waiting..... waiting..... waiting.... I hate waiting! |


No comments:
Post a Comment