Saturday, May 3, 2014

Splashes of Spring & Other Simple Projects

I decided to add just a few more splashes of spring to brighten up the kitchen & the living room plus a few other simple projects. 


I found this white colander and filled it with coffee beans and set a candle in the beans. Looks kinda cute!

The cutting board was found at Goodwill. It was really ugly and much wider. I think it had a picture of a nursery rhyme (maybe mother goose). My hubby cut a little off of each side for me and then I painted it white, added some brown paint around the edges and also glued a base to the back side so that it can stand on its own. It works great when I am using my Kindle for recipes. 

I had been looking for a vintage bread box to add to my kitchen counter. Unfortunately they are pricey but I found a new one at a country store. It was stark white so I decided to "age" it a smidge by adding some rust colored paint to the handles, the bottom and a bit along the seam on the left side. It doesnt stand out as much now. 


I found this little warmer and thought it goes great with my decor. I love Mason jars!

I bought a basic plain lamp shade and cuts strips of muslin and hot glued them from the top to the bottom of the shade all the way around, and then took another piece and tied a little bow. I think it gives it just that little touch so that it doesnt look quite so plain. 


                                             It gives just a nice soft glow in the evening.


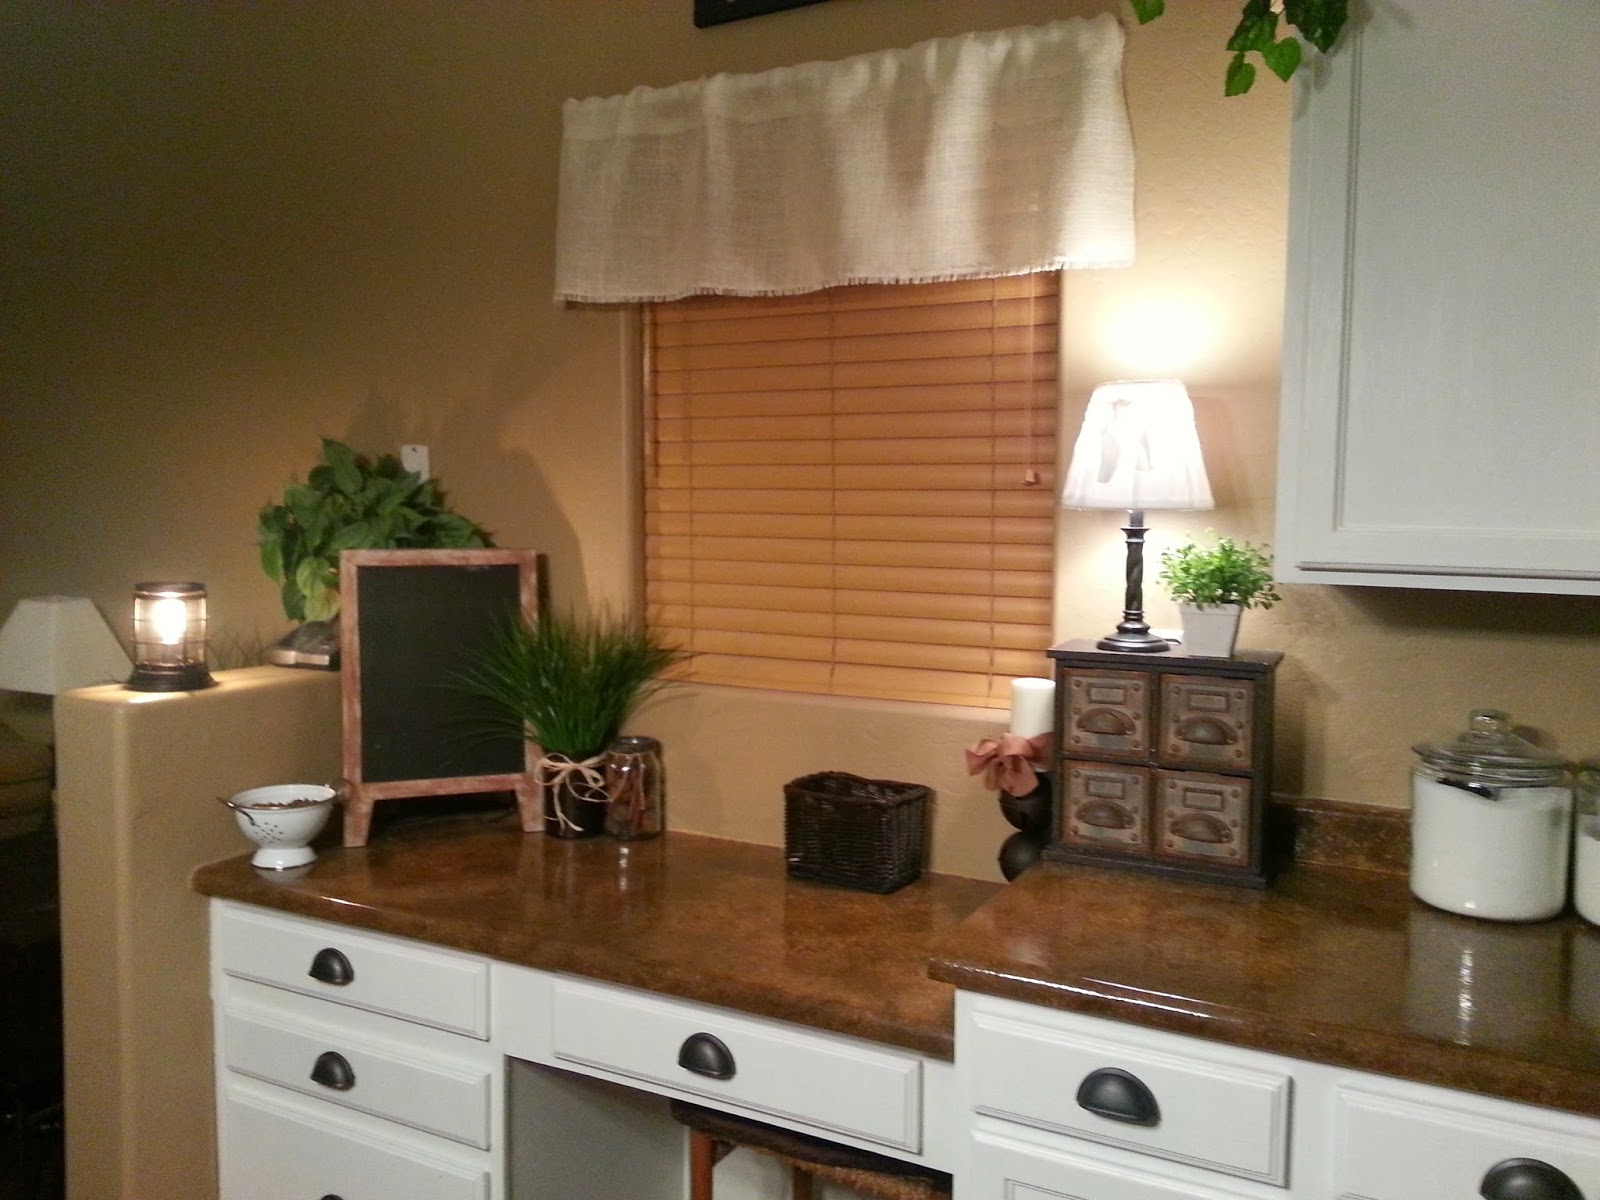
I also found another "vintage" warmer that I thought was so cute. It has an Edison style bulb which gives it that aged quality that I love. 


My hubby helped me make the white "herb" box to sit on the mantle. It is just simple particle board that I nailed together, then painted and filled with some "herbs". I still need to add some chalk board signs with the name of my so called herbs, and I think I am going to add a couple of handles to the side of the box. 


Update:

I decided the herb box on the mantle needed a little more character so I added a handle. I think it is just the right touch!


I wanted something in front of the fireplace that had some size to but I wasnt sure what. I was leaning toward a lantern but trying to find a large one is not easy (nor cheap), so the hubs was nice enough to cut some more wood for me and it basically became a lantern-ish design without the glass. I decided to put a topiary in it instead of the typical candle since it is so large. 


Friday, March 14, 2014

Painted Kitchen Cabinets - Oak to White

Our outdated shiny honey oak cabinets have finally been updated. Years ago I was anti-white cabinets but over the years the look has really grown on me. After endless hours and hours reading every blog and tutorial out there and researching the various products, I finally did it!

Here is the new white kitchen!


The drawer pulls are on the the drawers in front of the sink yet in this picture. They are on there now. I just needed to wait for hubby to get home with a handy dandy tool that would fit in the small space between the drawer fronts and the sink.


We also made the farmhouse table, which looks so much nicer now that the cabinets are brighter. It blended in before and the room seemed so dark with the dark wood of the table, the dark countertops and the oak cabinets.

The countertops are painted formica to look like "faux" granite. I painted them back in 2005 and they have held up great. I did add a fresh coat of polyurethane to the island one time to give it back its shine, but otherwise no issues.


Here are a few before pictures. Doesnt it look so much brighter!


As you can tell, I also changed out my knobs and pulls. I ended up going with an oil rubbed bronze finish. I was torn between the oil rubbed bronze or the stainless steel but I decided on the ORF to help tie in the color of our countertops.

So, the process was as follows:

I removed all of the old knobs and drawer pulls. I also ordered new hardware online and we were so lucky that the holes lined up so we did not have to worry about patching the old holes or drilling new ones. Next I drew a map showing the outline of the kitchen. Next I used some masking tap and numbered each door (tape on the inside) and put the corresponding number on the inside of the cabinet base. This was to ensure that each door would be reattached to the original space so that I didnt have to worry about the holes not lining up. I then removed the hinges and kept each hinge on a shelf inside the cabinet base. Next the drawer fronts were removed and a number was assigned to each drawer front as well as inside the drawer to ensure it went back in the same spot. I also updated my "kitchen map" with the same info, just to be safe.

Next, I cleaned the doors and drawer fronts using Clorox antibacterial kitchen wipes.


Now, I know everyone recommends sanding, or at miminum using a liquid sander/deglosser, but I didnt. Actually I bought some with the intentions of using it, but I decided to try my luck. I decided to test a drawer front by simply adding a coat of primer. I figured that if the primer didnt stick, then I could easily sand that one off and go back to plan B. Well, the primer stuck with no problem. So there you have it. I was a rebel and completely skipped that step.

I primed everything with Zinsser Cover Stain, which worked wonders. Even the instructions state that you do not need to sand. Of course I followed the instructions for the drying time at least. I added 2 coats of primer on the front side of the doors and drawers, but I cheated and only added 1 coat of primer on the backside of the doors.


Last was the final coat of Benjamin Moore Advance in Simply White with a satin finish. I ended up only using 1 coat on each side of the doors and 1 coat on the drawer fronts. I waited the full 16 hours between applications and started on the backside. That way when I flipped them over, if the drying time wasnt quite sufficient, it wouldnt mess up the pretty front side. I used a nice 2 in good quality brush to cut in on the edges and then used a foam roller to smooth out the brush strokes. They are not perfect, but they look very nice. Probably not as nice as using a sprayer would have made them look, but I am happy with the final product.

Then I very impatiently waited a full 3 days before putting everything back together. Overall it was a tedious project but well worth it in the end. We started on a Friday evening and finished painting everything on the following Monday.

Here are some pictures of the process. As you can see we set up a work station in the garage. The winds picked up a bit while we were painting so we had to close the garage door. We didnt really want any little flying critters or anything else permanently stuck to our cabinet doors.